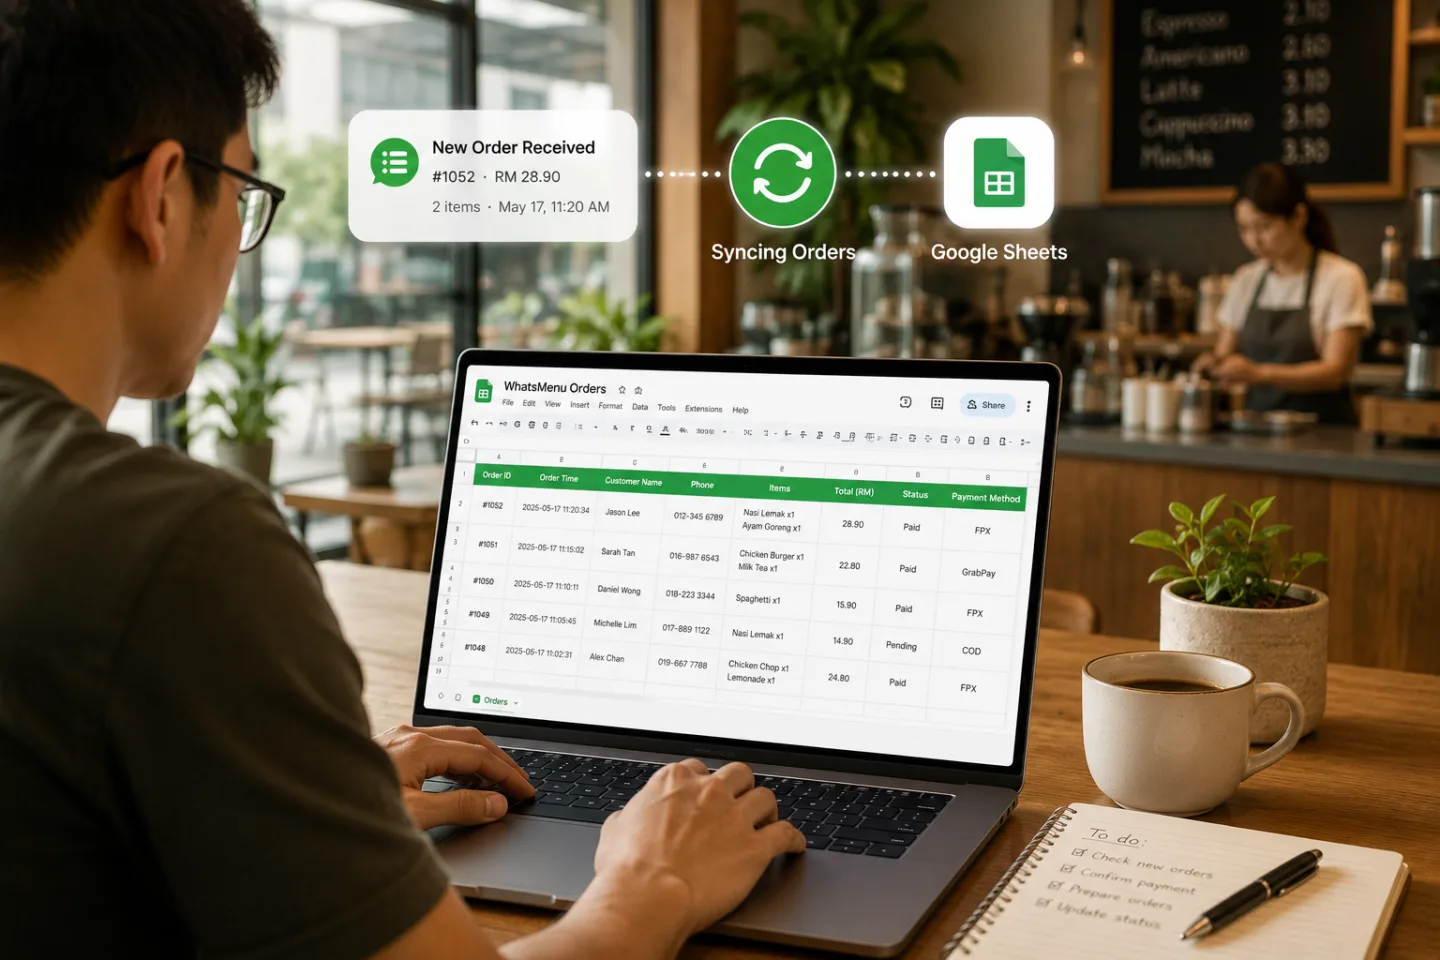
TL;DR. In about ten minutes you can have a Google Sheet that fills itself: every order placed on your WhatsMenu store appears as a new row — time, customer, items, total — seconds after it's placed. The recipe below uses Make, whose free plan includes everything needed; a Zapier variant follows at the end. No code, no copy-paste, no missed orders.
Why a self-updating sheet?
A spreadsheet is still the fastest way to answer the questions a business owner actually asks: How did this week compare to last? Which day is dead? What's the average order worth? The only problem with the spreadsheet is feeding it. This recipe removes that job permanently — and it works the same whether you sell meals, retail goods, services, or take bookings with deposits.
What you need
- A WhatsMenu store with the Webhooks feature enabled (Settings → Apps → Webhooks).
- A free Make account.
- A Google Sheet with the columns you want — for example: Date, Order #, Customer, Phone, Items, Total, Type.
Part 1 — Get your URL from Make (3 minutes)
- In Make, create a New scenario.
- Add the first module: search for Webhooks → Custom webhook, click Add, name it ("WhatsMenu orders"), and save.
- Make shows a URL and starts listening. Copy that URL.
Part 2 — Point WhatsMenu at it (3 minutes)
- In your WhatsMenu dashboard, open Webhooks in the sidebar (enable it first under Settings → Apps if you haven't).
- Click Add endpoint. Name it "Make — orders to Sheets", paste the URL, and tick just one event: New order.
- Save. (A signing secret is shown once — keep it somewhere safe; this recipe doesn't need it.)
- Place a small test order on your storefront. Back in Make, the webhook module lights up — it has captured the order's structure.
Part 3 — Map the row (4 minutes)
- In the same scenario, add a second module: Google Sheets → Add a Row, and connect your Google account.
- Pick your spreadsheet and worksheet.
- Map the fields Make captured into your columns:
-
Date →
created -
Order # →
data.order_id -
Customer →
data.customer.name -
Phone →
data.customer.phone -
Items →
data.items(map the item names, or the count indata.total_items) -
Total →
data.total— one important detail: amounts arrive in cents. $12.50 arrives as1250. Divide by 100: in Make, use the formuladata.total / 100right in the field. -
Type →
data.delivery_name(delivery, pickup, dine-in — whatever you've named them)
-
Date →
- Save the scenario and switch it on (and set the scheduling to immediately as data arrives).
That's the whole build. Place one more test order and watch the row appear.
Nice upgrades once it works
-
A totals dashboard. Point a second sheet tab at your log with
SUMIFby date — instant daily revenue chart, no extra automation. - Filter what lands. Add a Make filter between the two modules — for example, only orders above a certain total, or only delivery orders.
- More events, more tabs. Add a second endpoint for Order paid feeding a separate "settled" tab, and your reconciliation is a lookup instead of a chase.
The Zapier variant
Identical shape, different names: the trigger is Webhooks by Zapier → Catch Hook (available on Zapier's paid plans), the action is Google Sheets → Create Spreadsheet Row, and the field mapping is the same — including the divide-by-100 on data.total, which in Zapier is done with a Formatter → Numbers step.
If rows stop appearing
Open the endpoint's delivery history in WhatsMenu (the clock icon) — it shows every notification sent, its status, and any retries. A paused Make scenario is the usual culprit: resume it, then hit Resend on the missed deliveries and they'll flow into the sheet.
Get started
Everything above ships with WhatsMenu — enable Webhooks under Settings → Apps and the sidebar page does the rest. The full automation guide covers Make, Zapier, and n8n side by side.